Getting started with MongoDB for Rackspace Technology dedicated platform
Create an instance
Note
Review the MongoDB overview for help with creating an instance.
Create instance
Log in to Mission Control.
Select Create Instance from the side panel.
Select MongoDB from the Service, Region, and Provider section.
Select the Instance heading.
Select Create Instance.
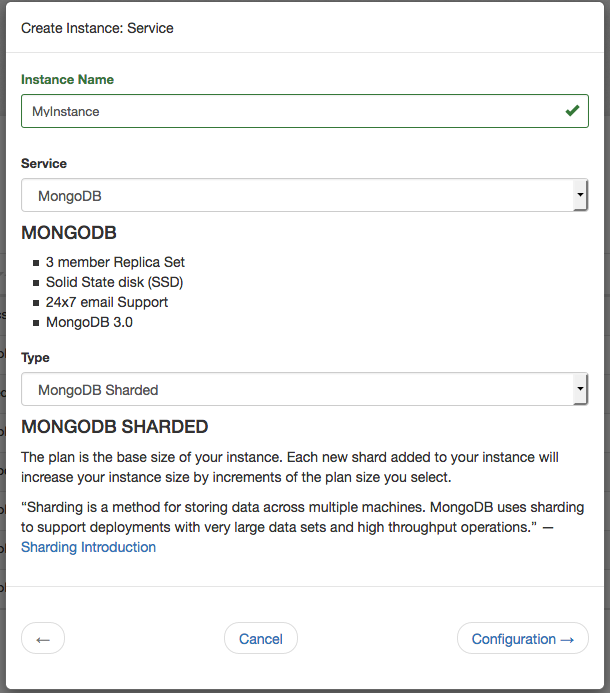
Enter a name for your instance.
Any alphanumeric string is valid.
Select a provider.
Options are Rackspace or Azure.
Select a database type.
Each selection includes a brief description at the bottom of the modal. For more detailed information, review the MongoDB overview.

Select Configuration.
Configuration
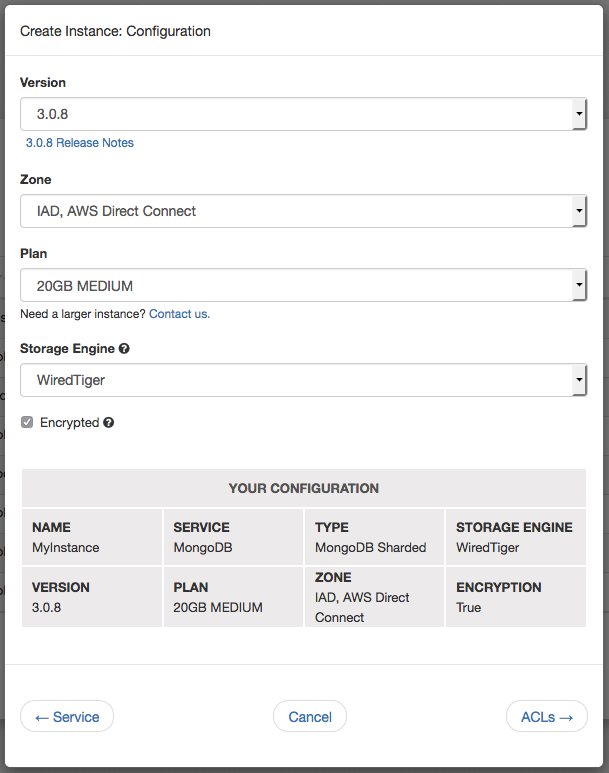
Select a version to deploy.
ObjectRocket offers the latest stable versions of MongoDB, 3.6.12, 4.0.10, and 4.2.8.
Select the zone that suits your needs.
Zones are Rackspace or AWS Direct Connect zones, labeled by airport codes in that region. For more information about the ObjectRocket data centers, review the FAQ or the ObjectRocket zone map.
Choose a plan.
You can always add shards in your plan size when you use a sharded instance, but that isn’t possible for a replica set. For more details, review the plans and pricing.
Select a storage engine.
You can select WiredTiger or MMAPv1. If you choose the WiredTiger engine, you’ll have a minimum plan size of 20 GB.
Select encryption.
You can choose to encrypt your data at rest and any backups for this instance.

Click on ACLs to continue.
Access control lists
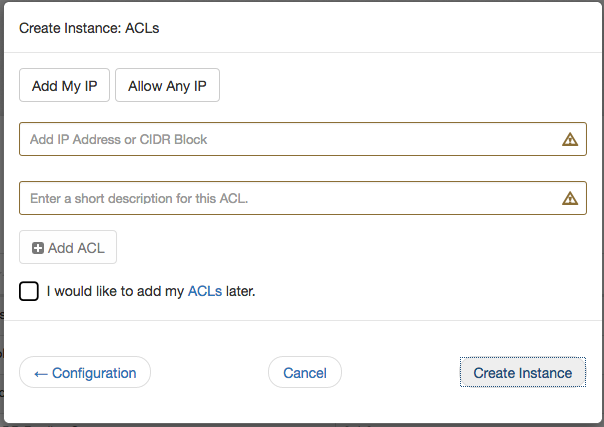
Access control lists (ACLs) limit what IPs connect to your instance.
Note
ObjectRocket denies access by default, so you need to add any appropriate ACLs for servers that are connecting to ObjectRocket.
Enter an IP address or CIDR block and a description. You can also choose to add your ACLs later.
Only the IP address is mandatory, but descriptions can help when maintaining larger lists.
Select Add ACL to include more entries.

Select Add Credit Card and enter your payment information.
Select Create Instance to spin up your MongoDB instance.
Creating a database
Created instances appear under the Instances heading. Select an instance to view its details and available operations.
To create a database for an instance, use the following steps:
Select the appropriate instance.
Select Add Database from Database section.
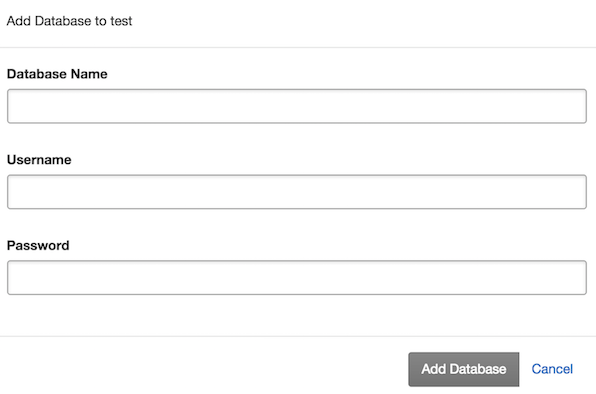
Enter a name, username, and password.
Select Add Database.
Note
All database users have full privileges to the specified database by default. They can create collections and indexes, as well as read and write documents. However, they can’t, by default, perform administrative commands or interact with other databases.
You can also add collections or more users by selecting the database name in the ObjectRocket API or MongoDB shell.

Connect
HTTP
After you’ve created a database with user authentication and added an ACL, you’re ready to test basic connectivity in a terminal session with the MongoDB shell by using the following command:
$ mongo iad-mongos0.objectrocket.com:<PORT>/<DATABASE> -u <USER> -p <PASSWORD>
MongoDB shell version: 2.6.11
connecting to: iad-mongos0.objectrocket.com:<PORT>/<DATABASE>
HTTPS
Note
Mongo shell versions earlier than 3.0 don’t support SSL connections unless you compile it manually with SSL support.
By using the SSL-compiled binaries, run the following command in a terminal session:
$ mongo iad-mongos0.objectrocket.com:<PORT>/<DATABASE>?ssl=true -u <USER> -p <PASSWORD>
MongoDB shell version: 2.6.11
connecting to: iad-mongos0.objectrocket.com:<PORT>/<DATABASE>
View collections
To view collections, use the following steps:
Run show collections in the terminal. You should receive output similar to the following:
mongos> show collections
example_collection
system.indexes
system.users

mongos>
You are now connected to the instance and able to perform database operations.
If you have any questions or need more help, contact the Support team.