Getting Started with Elasticsearch
To create an Elasticsearch instance for the Rackspace Dedicated Cloud, you must use the ObjectRocket Dedicated Platform. You can access the ObjectRocket Dedicated Platform by visiting the URL directly, https://app.objectrocket.com, or by using single sign-on (SSO) from the Mission Control user interface.
Creating an Elasticsearch instance with SSO
Log in to Mission Control.
Select Create Instance.
Select Elasticsearch from the Select Your Service section.
Select Rackspace from the Cloud Provider section.
This link redirects you to https://app.objectrocket.com.
Select Instances.
Select Create Instance.
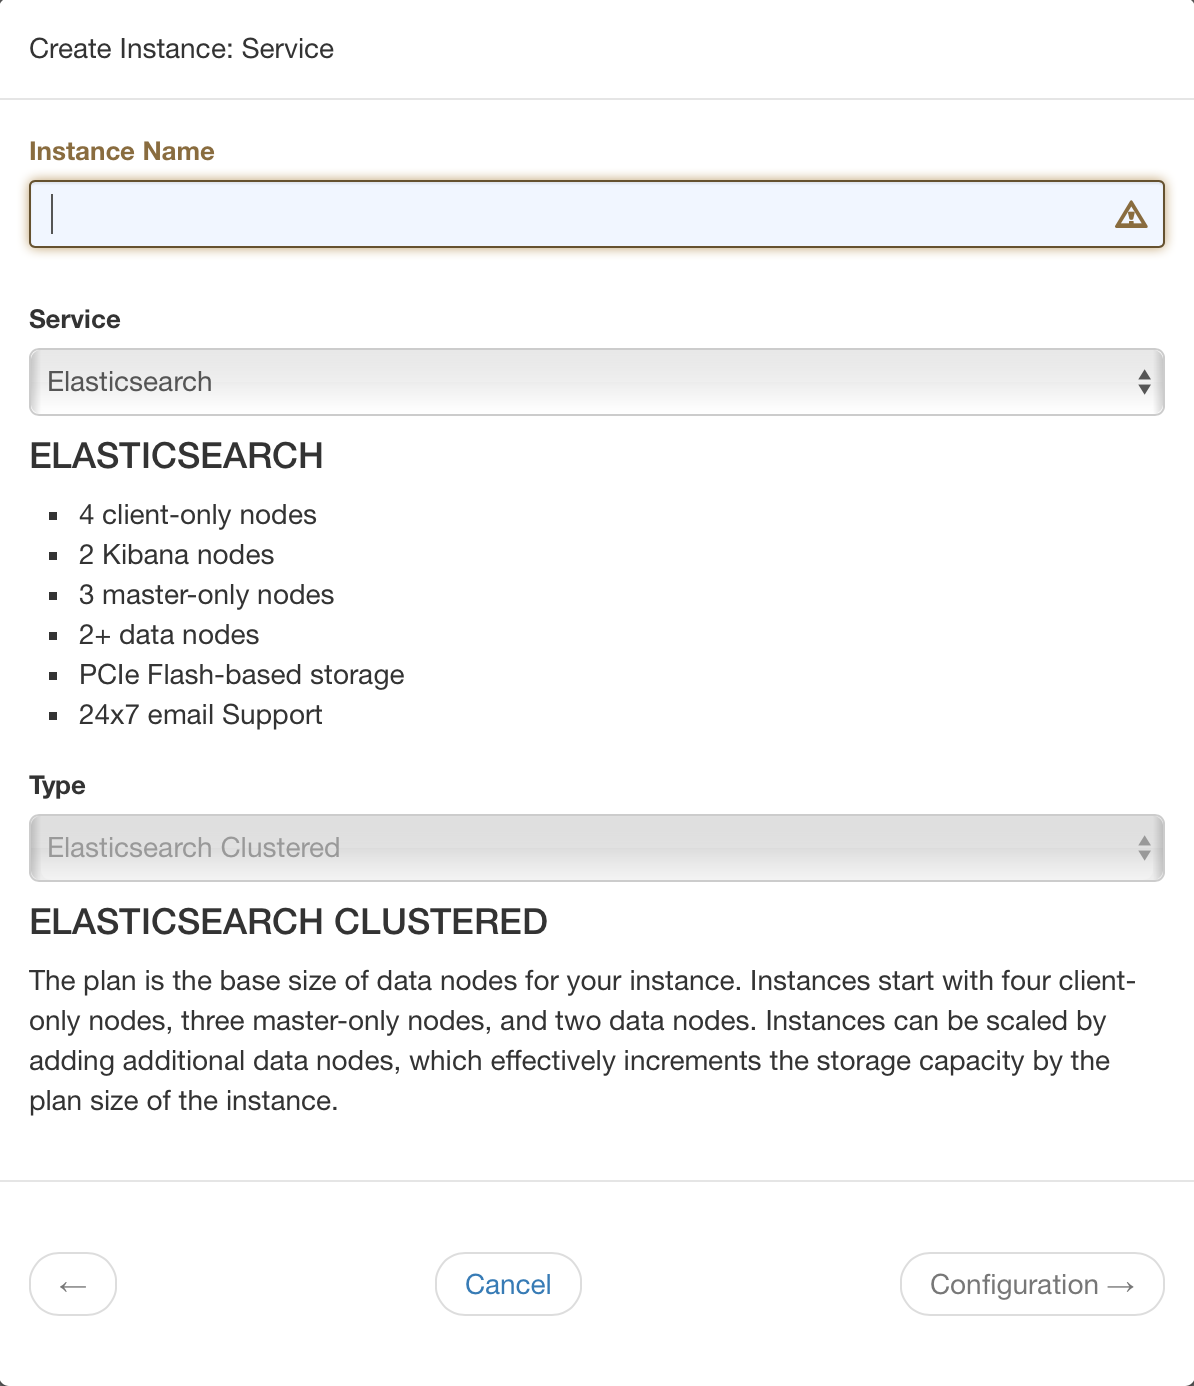
Enter a name for your Elasticsearch instance.
Select Elasticsearch from the Service section.

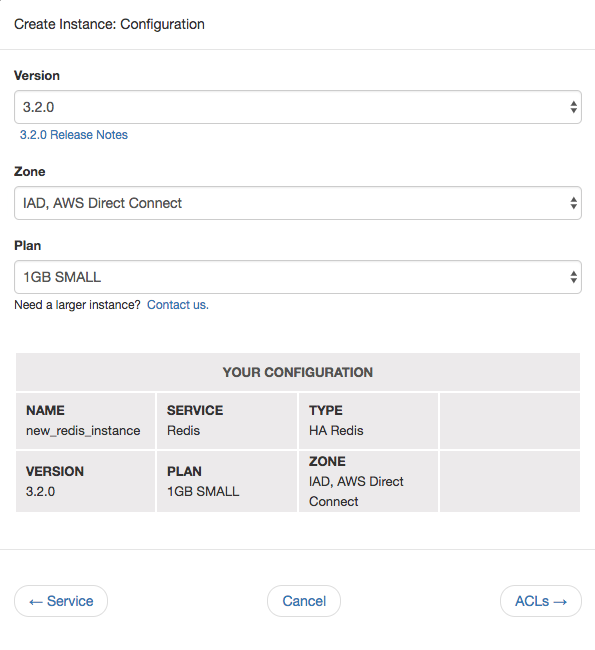
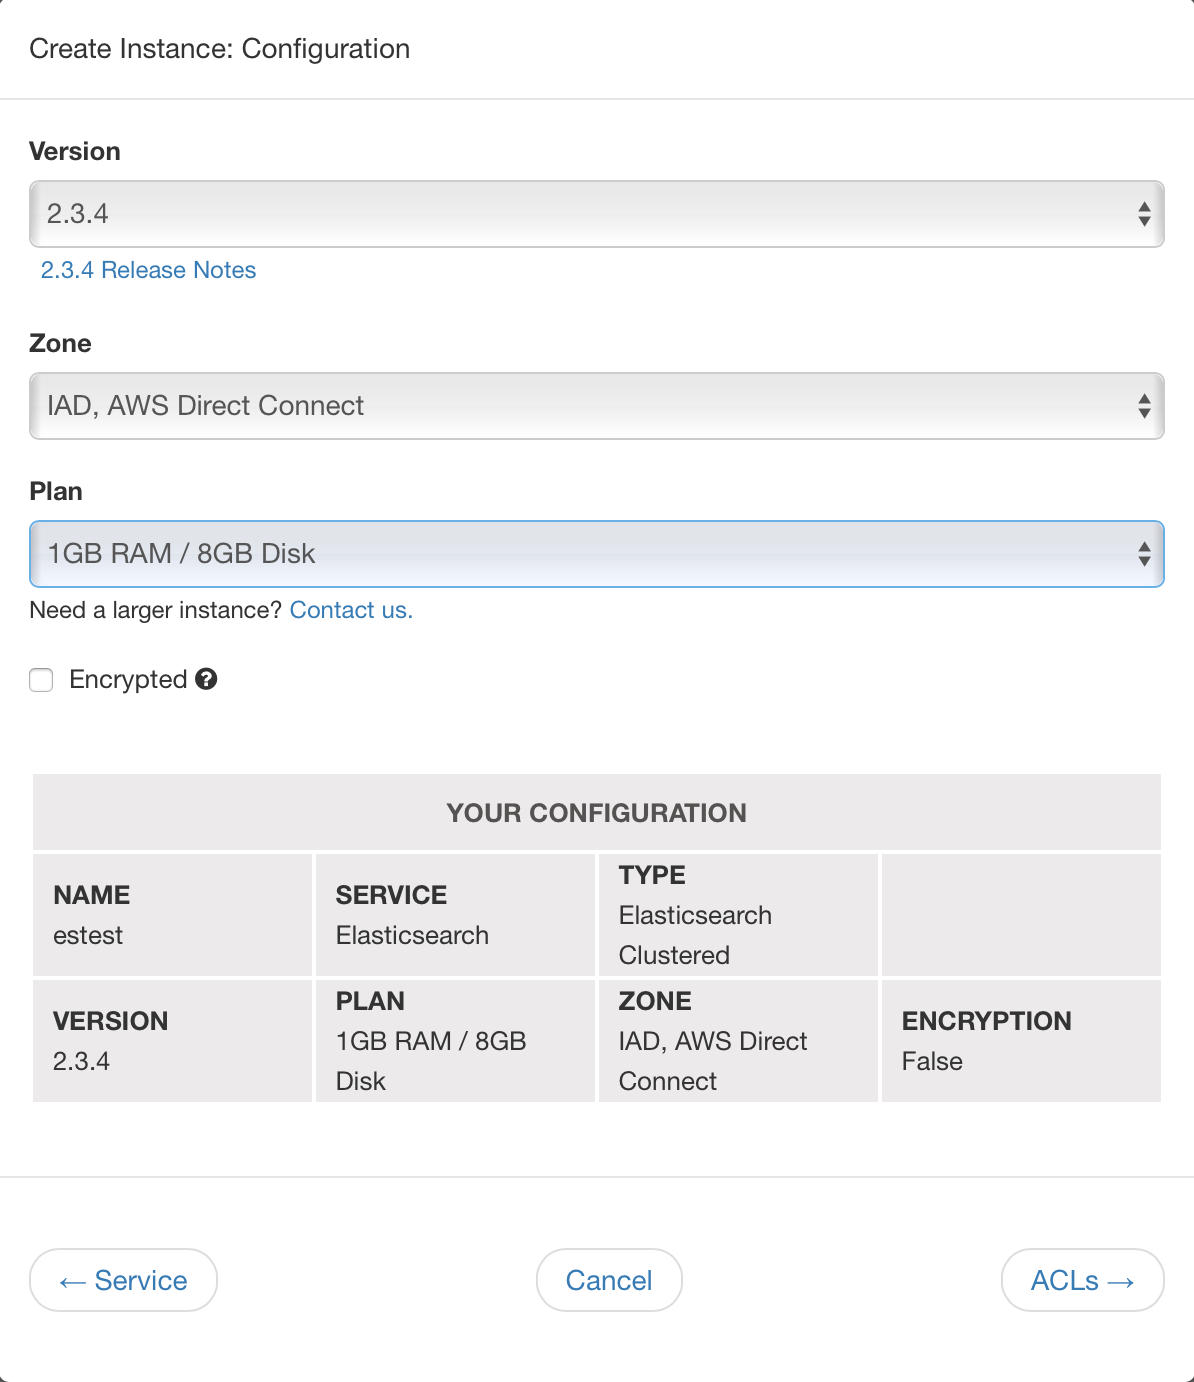
Select Configuration

Select an Elasticsearch version.
Select a zone from the drop-down menu.
Select a cluster size.
For more details, visit plans and pricing.

Select ACLs.
Access Control Lists (ACLs) limit who connects to your instance.
Note
ObjectRocket denies access by default, so you need to add any appropriate ACLs for servers that are connecting to ObjectRocket.
Select an ACL role and enter an IP address or CIDR block and a description. You can also choose to add your ACLs later.
Only the IP address and ACL role are mandatory, but descriptions can help when maintaining larger lists.
Select Add ACL to include more entries.
Select Add My IP or Allow Any IP to add either your current IP address or to allow all IP addresses access to your instance.

Note
The default ACL Role of Elasticsearch allows access to the Elasticsearch REST API and any plugins. Access to the Java API is also available via the Transport Client library. Select Elasticsearch & Java API to include this access.
Add an Admin User
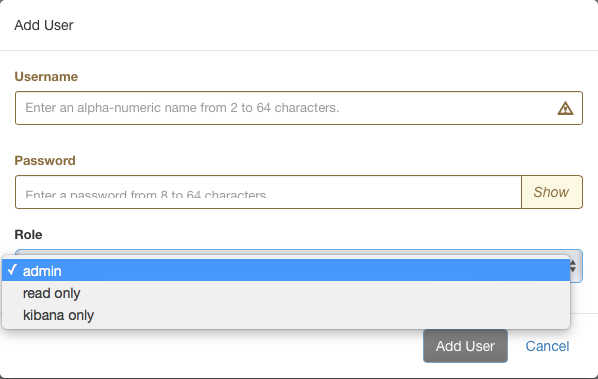
From the Users section of your instance, select Add User.
Enter a username and password. Your first user should always be an admin.

Adding additional ACLs
If you didn’t add any ACLs while creating the instance, then you can add them after:
From the Security section of your instance, select Add ACL and follow the instructions above for adding ACLs.