PostgreSQL Connection Basics
When creating a new PostgreSQL instance on the ObjectRocket service, there are a few things you need to know before you connect to your instance.
PostgreSQL Connection Checklist
In order to connect to your instance, you will need a few things:
Your Instance Connection String: Each instance is set up with one (or more) connection strings. You can find this in the CONNECT tab of the instance details in Mission Control . See the PostgreSQL Connection Strings section below for more information.
Open Firewall IPs: By default all traffic to your ObjectRocket instance is blocked. You must configure your instance to allow traffic from the IPs/CIDRs you will be connecting from. See the Firewall Configuration section below for more information.
A User: By default an ObjectRocket instance is not configured with any users. See the PostgreSQL Users section below for more information.
How to Connect
Though each client has a different format, the easiest way is to connect via the psql command line client. If you’ve completed the steps above, you can test your connection with the following command:
psql 'postgres://<yourusername>:<yourpassword>@ingress.<yourclustername>.launchpad.objectrocket.cloud:<yourport#>/postgres?sslmode=require'
PostgreSQL Connection Strings
When your ObjectRocket instance is created, it is given a unique hostname and port combination.
Once your instance has finished building, connection strings can be found in the CONNECT tab of the instance details screen, in Mission Control .

In general, your connection string will look something like:
postgres://<USERNAME>:<PASSWORD>@ingress.<clustername>.launchpad.objectrocket.cloud:<yourport#>/postgres?sslmode=require
Types of PostgreSQL connection strings
Depending on your instance type, you will be provided with one or two connection strings:
PostgreSQL: (all instances) This is the main connection string to use for read and write traffic. In High-Availability instances, it always points to the primary instance.
PostgreSQL Replica: (HA instances) If you have an HA instance, you will also be provided with a replica connection string that only accepts read traffic. This always points to replica node(s) and if you have more than one replica, the traffic is load balanced between them.
PostgreSQL Users
Creating your first PostgreSQL user
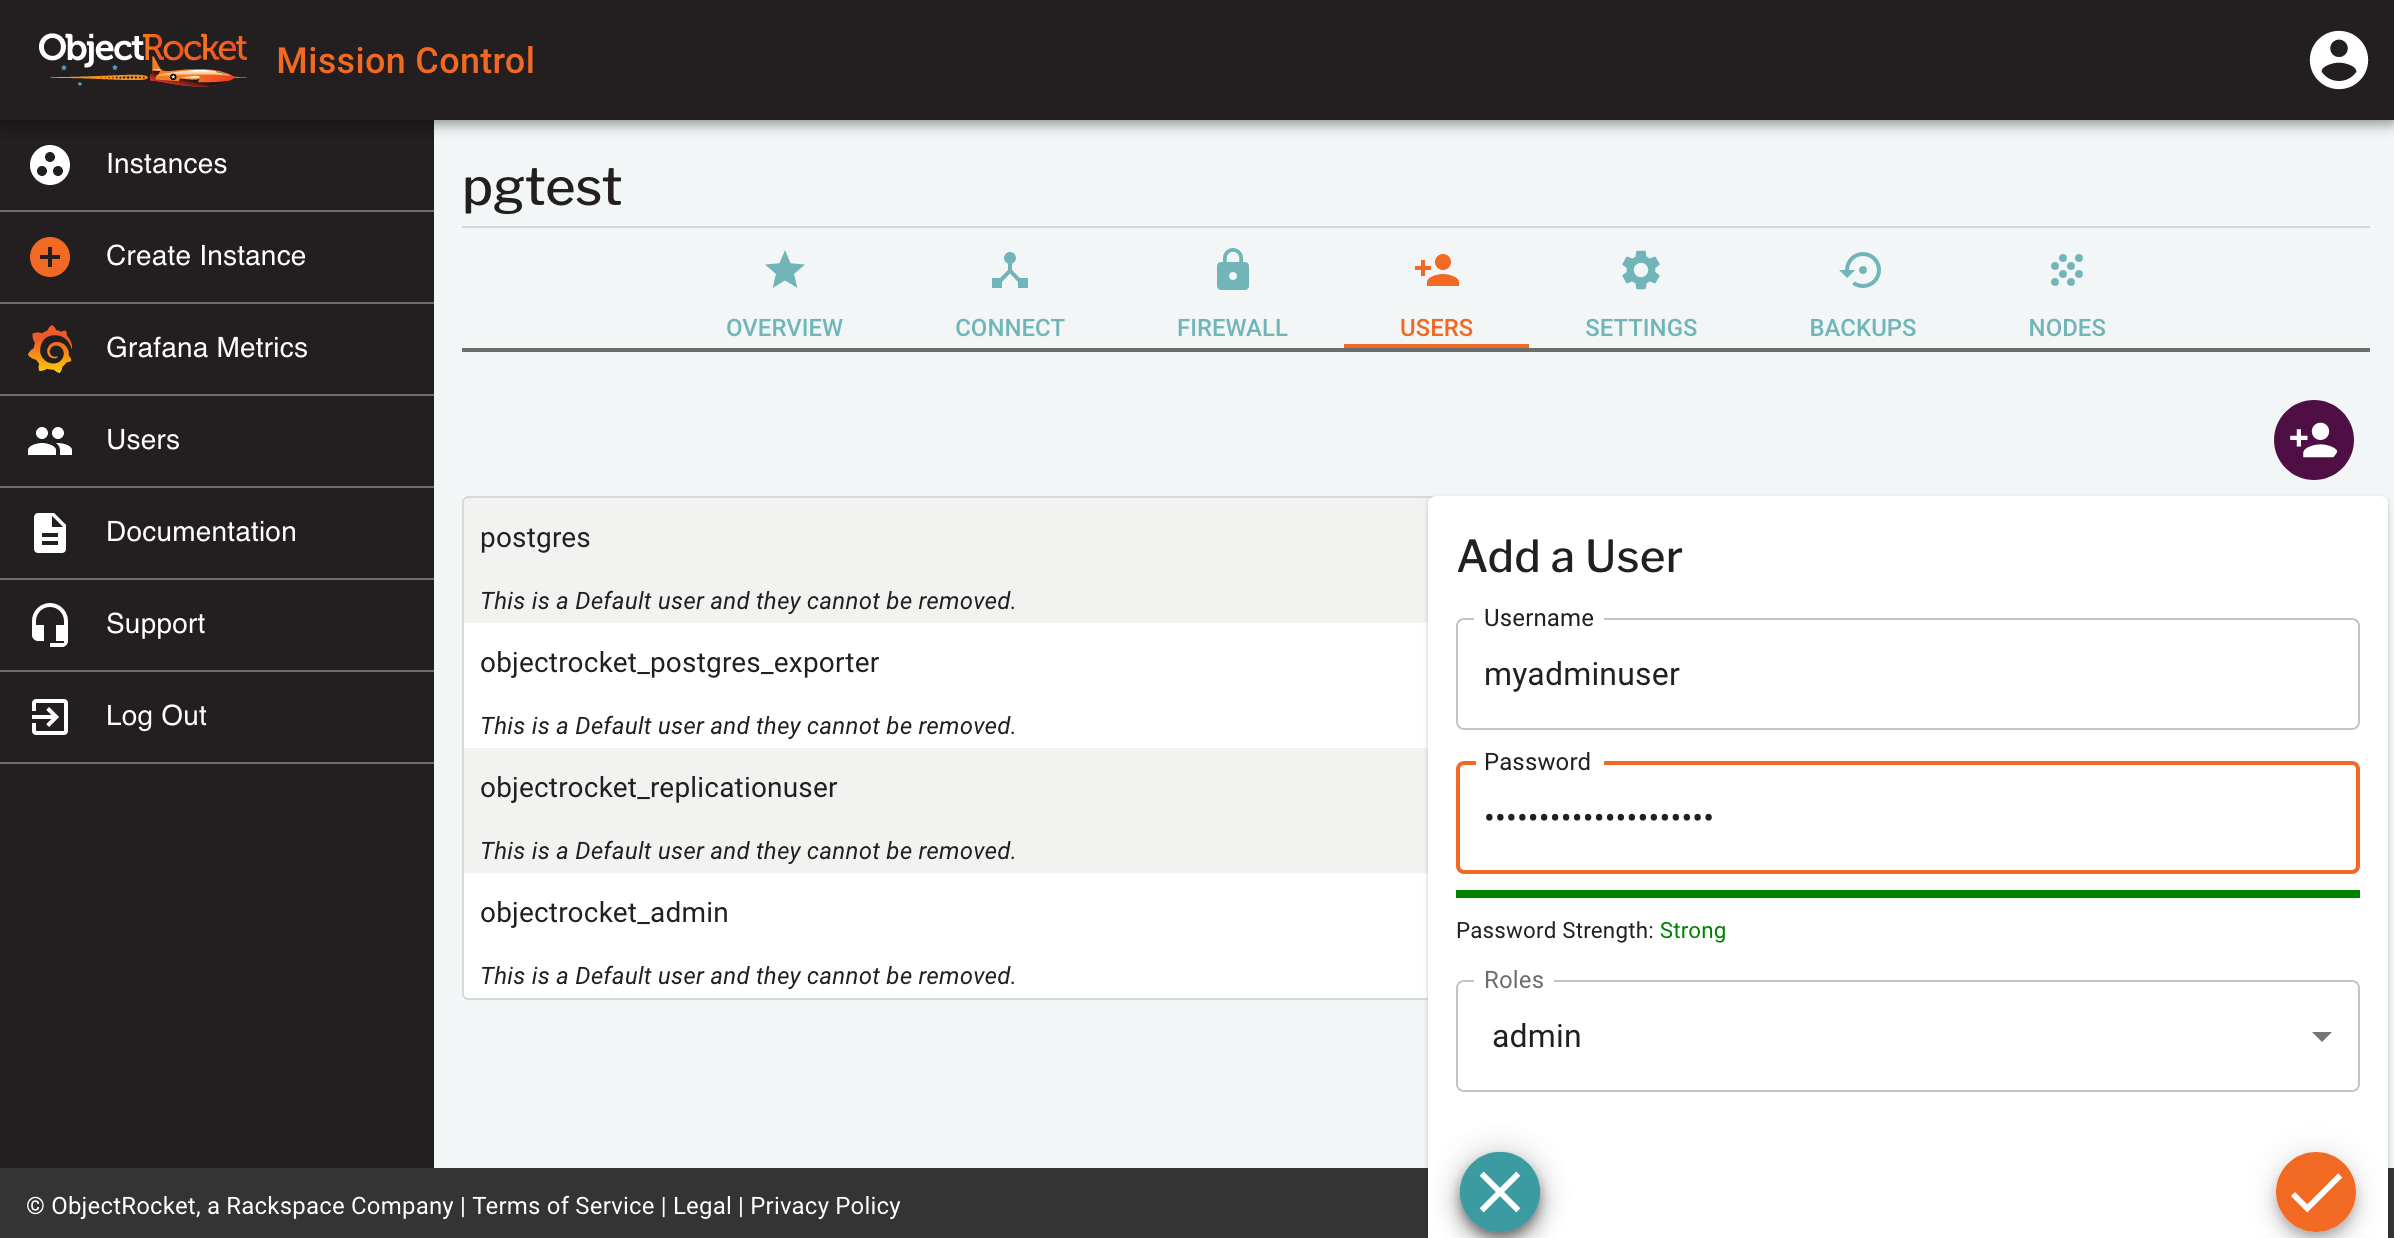
By default, your PostgreSQL instance on ObjectRocket does not have any users created. You must first create an administrative user that you can then use to manage your instance.
From Mission Control, click Users from the Instances page, or from the USERS tab of the instance details page.
Enter a username and password for your admin user and select the admin role
You can verify your user has been created in the USERS tab of the instance details page.
You now have a powerful admin user on your instance.

About the users you created in our UI
Any users that you create via our UI (or API) are special because they provide two significant attributes:
Create DB: Allows you to create new databases in the instance
Create role: All PostgreSQL users are also roles, so this privilege specifically allows you to create roles, users and fully manage their permissions

This one user provides pretty much everything you would need to administer and manage PostgreSQL. You can now, with this user:
Create and manage new databases and tables within them
Create and manage new schemas
Create and manage new roles and users
Create and manage extensions
Drop or modify anything not created by a superuser/postgres
This is a powerful user, so we generally recommend that you create a few non-admin users for day-to-day operation of your instance.
Additional non-admin users can be created and customized directly in PostgreSQL using the PostgreSQL CREATE ROLE command.
Firewall Configuration
When you create a new PostgreSQL instance, all access to the instance is blocked, except for the IP you accessed the UI from when creating the instance.
At any time you can add and remove additional IP addresses or CIDRs to the Firewall Configuration.
Adding Firewall IPs
To open up additional IPs and CIDRs to access your instance, follow the steps below:
Find your instance in the Mission Control Instances page.
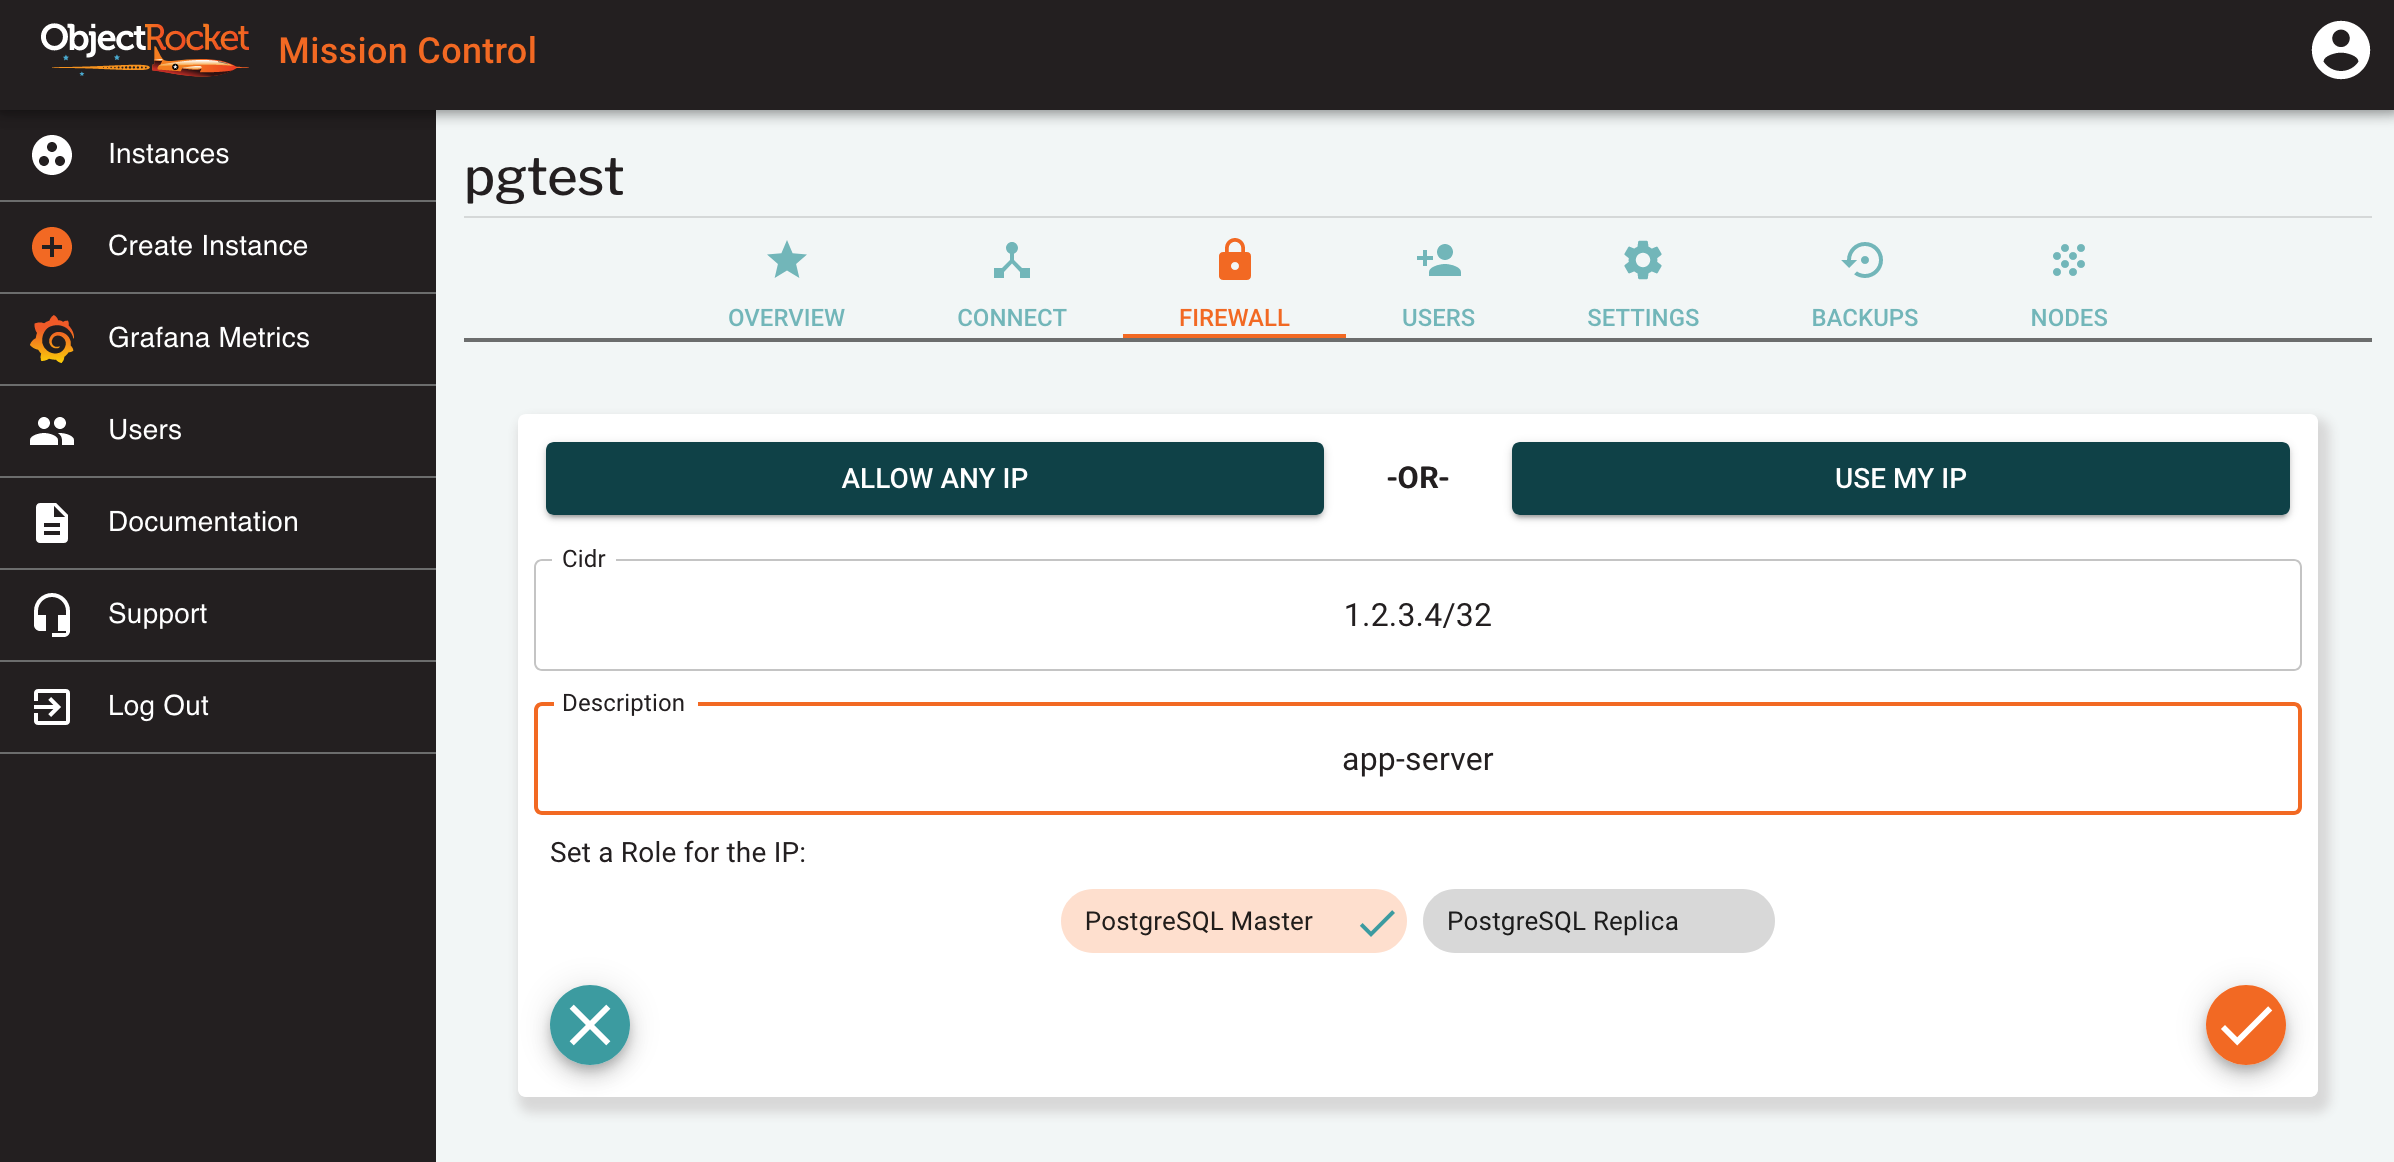
Select Firewall from the instance in the list, or click on the button in the FIREWALL tab of the instance details screen.
In the popout, either directly add an IP (e.g. 1.2.3.4) or CIDR (e.g. 1.2.3.4/24) in the CIDR field, or use one of the ALLOW ANY IP or USE MY IP shortcuts.
Enter a name for this IP so you can identify it later
Select a role for this IP. We allow you to set different IPs for each connection string, so the role determines which connection string the firewall will be opened for.
At any time, you can see the configure Firewall IPs for your instance in the FIREWALL tab of the instance details screen.

Warning
Though we give you the option to allow any IP (0.0.0.0/0) to your instance, we don’t recommend using it long-term. Though your instance is still protected by a username/password, it still poses a risk to the security of your instance since anyone can try to connect.
Removing Firewall IPs
To remove access for existing IPs and CIDRs from your instance, follow the steps below:
Find your instance in the Mission Control Instances page.
Navigate to the FIREWALL tab of the instance details screen for the instance you would like to modify.
Find the IP you would like to remove from the list.
Click on the red trash can next to the instance